Following these steps, you can create an IoT application that is scalable, efficient, and user-friendly. Whether you are a developer or an entrepreneur this guide will provide you with just the right steps needed to bring your IoT application to life. So, let’s get started and learn how to develop an IoT application in less than 10 steps. Build an effective and efficient IoT application that fits your goals by paying attention to these general procedures.
Step 1. Define the Requirements (What?)
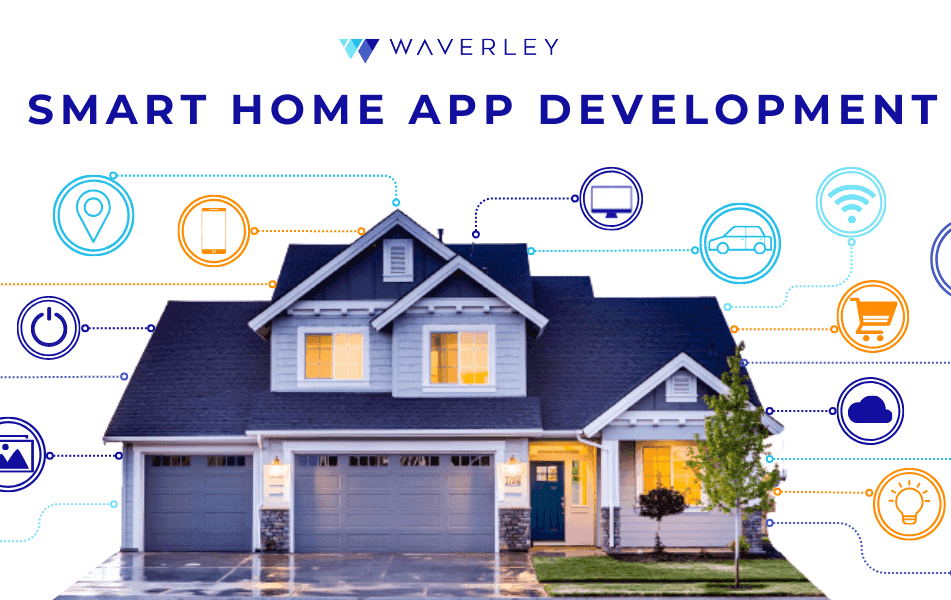
Defining the requirements for an IoT app is a critical step in the development process. It involves identifying the purpose of the application, its target users, and the specific features that it should offer.
The first step is to determine the reason for developing the app. Is it for home automation, industrial control, or healthcare monitoring? Understanding the purpose of the app will help you determine the specific features it should have. Then, you will identify the target users because if you know who will be using the app, for example, if the app is for seniors, the interface should be easy to use. With respect to the characteristics and functionalities, if we have already defined the objective or purpose of the application and the question arises for the users, what is going to be offered? So, the characteristics must be planned and with this the hardware, it is important to determine the type of hardware that will be required to ensure that the app can communicate effectively with the devices it is intended to control.
And finally don’t forget to determine the communication protocol, which means, the way to connect the IoT app to the hardware to be controlled, for example, Wi-Fi or Bluetooth.
Step 2. Choose an IoT Platform
The platform serves as the foundation for your app, providing the necessary tools for data collection, processing, and analysis. There are several factors to consider including scalability, security, interoperability, and ease of use. Some popular IoT platforms include AWS IoT, Microsoft Azure IoT, Google Cloud IoT, and IBM Watson IoT.
It is simpler to create and launch your IoT app using these platforms because they provide a variety of features like device management, data storage, and analytics. The prerequisites and objectives of your app must be aligned with the IoT platform you choose. Additionally, it’s critical to confirm that the framework you select is compatible with the hardware elements and networking standards employed by your IoT devices.
By selecting the right IoT platform, you can simplify the development process, reduce costs, and ensure the success of your IoT app.
Step 3. Get the Correct Hardware Components (With?)
Based on the use case and specifications, choose the sensors, microcontrollers, and actuators that will be required for your IoT application; these must be compatible with the platform and the protocol.
Once you have identified the necessary hardware components, choose a reliable supplier. Look for suppliers with a good reputation, excellent customer service, and a track record of providing high-quality components.
Before incorporating the components into your app, test them to ensure they are working correctly. This will help you avoid any compatibility issues or unexpected behavior when integrating them with your IoT platform. And, finally, verify that the hardware components are compatible with your IoT platform and communication protocols. This will ensure that the devices can communicate with each other and the app can function as intended.
Step 4. Choose the Network Protocol (Which?)
Choose a network protocol like MQTT, CoAP, HTTP, or Zigbee that is appropriate for your use case.
The network protocol enables communication between the IoT devices and the app, and there are several factors to consider when selecting the appropriate protocol. These factors include the range, bandwidth, power consumption, security, and interoperability of the protocol. Some popular IoT network protocols include Wi-Fi, Bluetooth, Zigbee, and LoRaWAN.
- Wi-Fi provides high bandwidth and range, making it ideal for IoT devices that require high-speed data transfer.
- Bluetooth, on the other hand, is suitable for low-power devices with short-range requirements.
- Zigbee is ideal for large-scale deployments, while LoRaWAN provides long-range, low-power connectivity.
Selecting the right network protocol, you can ensure that your IoT app functions effectively with minimal power consumption and maximum security.
Step 5. Develop the Software
Developing a software component for an IoT app requires following specific steps to ensure its functionality and efficiency.
First, select a suitable programming language for developing the software component, some popular options include Python, C++, and Java. Then, a data processing and analysis module should be developed to receive, filter, organize, and analyze data from IoT devices. Later, it’s time to develop the user interface, allowing end-users to interact with the app, visualize data, and control the IoT devices. To ensure data and device protection, appropriate security measures such as encryption, authentication, and authorization must be implemented.
Moreover, testing the software component is necessary to ensure its compatibility with the IoT devices and network protocol.
Finally, after verifying its functionality, deploy the software to the target environment, such as a cloud platform or a local server.
Step 6. Connect the Hardware and Software
To ensure that the software and hardware can communicate effectively, developing an IoT app involves connecting all the components. The hardware devices collect data, while the software processes and analyzes the data to provide insights and enable control of the IoT devices.
To achieve this:
- Configure the hardware devices with the necessary software and settings to enable communication with the software component.
- Integrate the communication protocol, such as Wi-Fi or Bluetooth, between the hardware devices and the software component. Implement device management, such as remote firmware updates and device diagnostics, to ensure that the hardware devices are functioning correctly.
- Test the connection between the hardware and software components to ensure that they can communicate effectively.
- Implement monitoring and alerting mechanisms to detect and respond to any issues that may arise with the connection between the hardware and software components.
Step 7. QA – Test the app
It’s not just the seventh step. You shouldn’t think about testing only once you’ve completed the previous steps. In fact, it is a step that must be performed on an ongoing basis throughout the development process since it also serves to generate future updates and satisfy the needs of the end user. Everything must be working properly and if not, the experienced team will take care of solving any problem at any time.
The first step is defining the scope of testing, including the features and functionalities that need to be tested. Next, it is necessary to develop test cases that cover all aspects of the app, including functional and non-functional testing. After developing that, execute them to identify any bugs, errors, or issues in the app. Record and track all issues identified during testing and ensure that they are resolved before releasing the app. Perform compatibility testing on different devices and operating systems to ensure that the app works as expected on all platforms. Finally, conduct user acceptance testing to ensure that the app meets the end-users’ needs and expectations.
Step 8. Launch the IoT App
After testing and having considered that “everything is in order” you can launch your application to the public on your chosen platform. But it is important to have a detailed planning and execution plan. Here’s some advice for launching your IoT app.
You must define the launch strategy, including the target audience, channels for promotion, and key performance indicators (KPIs) to measure success. Then, optimize the app store presence, creating a compelling app listing, including engaging descriptions, screenshots, and videos that showcase the app’s features and functionality. After that, use social media, influencer marketing, and other marketing techniques to spread the word about the app and encourage downloads. Also, consider monitoring the app performance and user feedback to identify and fix any issues that may arise after launch. And finally, collect and analyze data to measure the app’s performance against KPIs and identify opportunities for optimization.
Step 9. Manage and Track the Application
Keep an eye on the program to make sure it is functioning properly and make any necessary modifications. Make sure that user data is protected by security measures.
This final step refers to the ongoing process of monitoring, maintaining, and optimizing the app’s performance after it has been launched.
It involves tracking various metrics related to the app’s usage and performance, analyzing user feedback and behavior, implementing updates and security measures, and ensuring that the app continues to meet the needs and expectations of its users. The goal of all of this is to ensure that it remains up-to-date, secure, and competitive, providing users with a seamless and enjoyable experience while also generating revenue for the developers. Here’s what you should work on here:
- Monitor the app (user engagement, app crashes, and other metrics that impact the user experience.)
- Update the app (with new features and bug fixes to ensure that it remains up-to-date and functional.)
- Analyze the user feedback and track their behavior (collect and analyze user feedback to understand user needs and identify areas for improvement, identify opportunities for engagement and monetization.)
- Implement security measures (to protect user data.)